iSyncr for iTunes to Android USB Tutorial

1
Download iSyncr for iTunes to Android onto your Android device from Google Play or the Amazon Appstore.
2
iSyncr offers to allow you to email yourself the following link to download iSyncr Desktop from jrtstudio.com/isyncr.
3
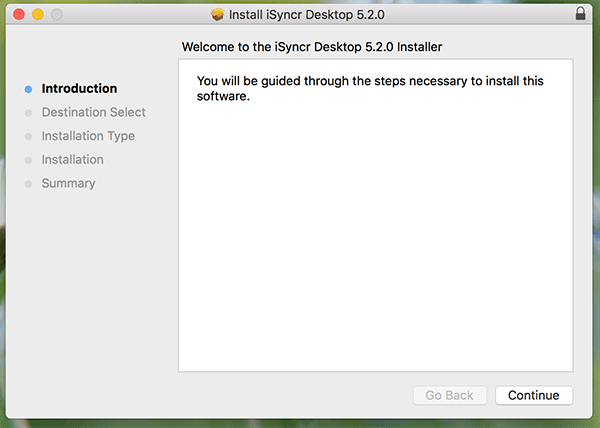
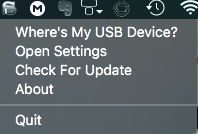
Install iSyncr Desktop on your PC or Mac. You will not see a normal application window but iSyncr will create an S icon on your system tray or menu bar. Using a PC, we'll right-click to interact with iSyncr Desktop.
Notice since at this point since we have not connected an Android device the question "Where's my device?" is listed in iSyncr Desktop. We'll connect the Android device to your computer with a USB cable in the next step.

4
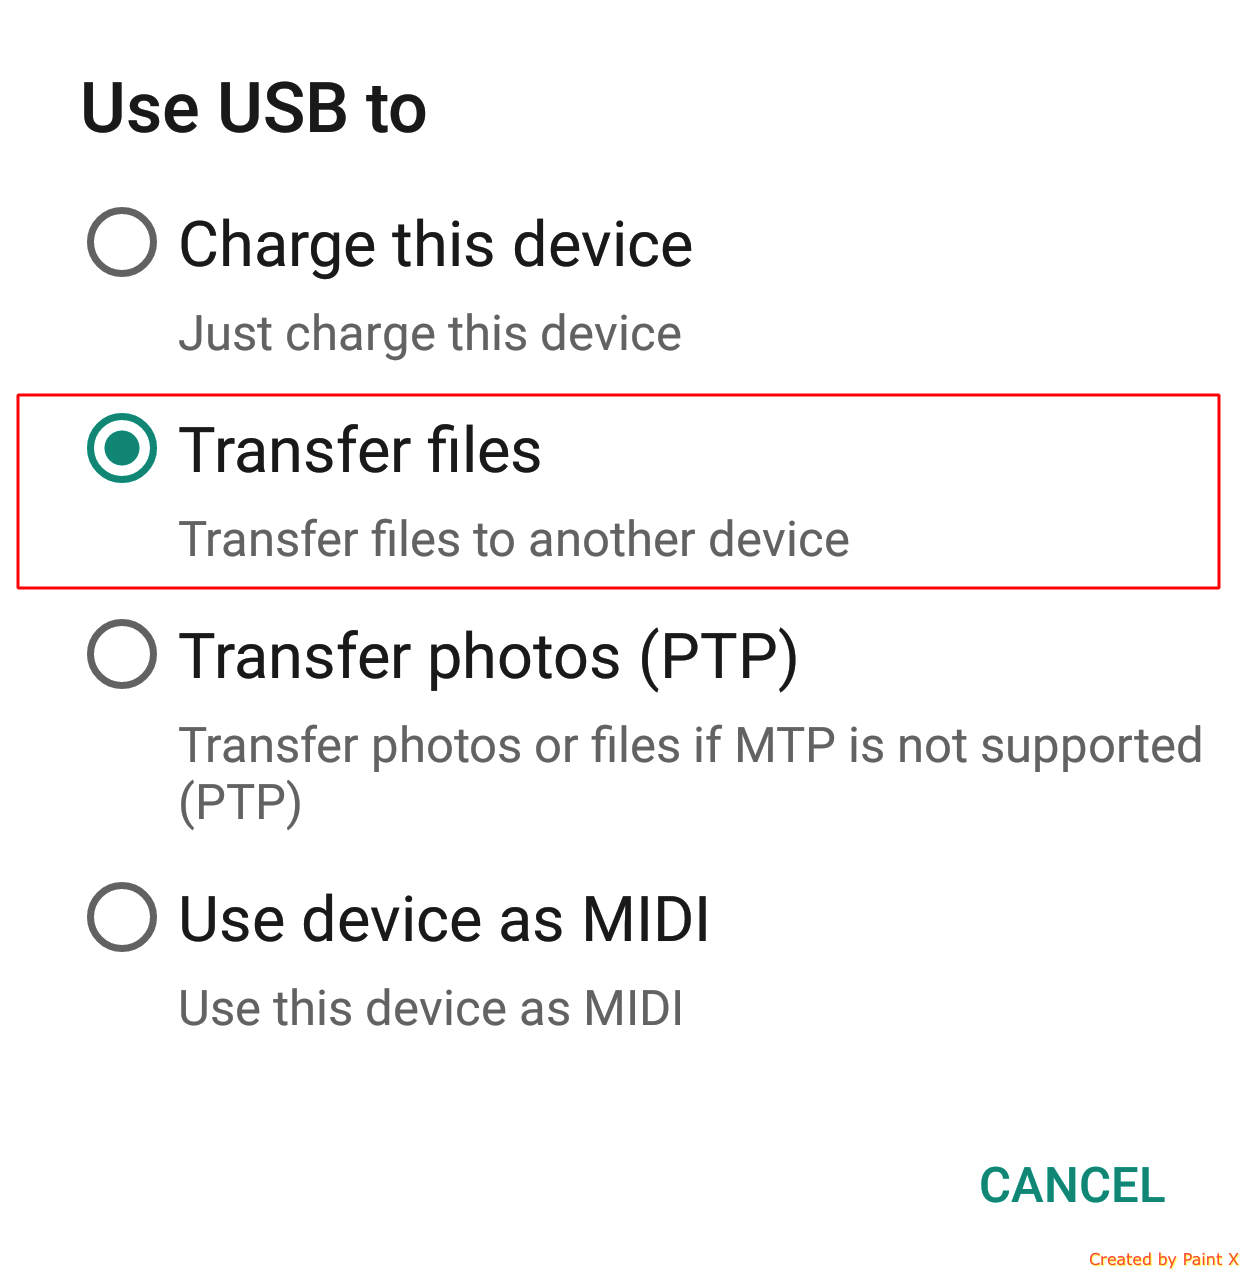
Once iSyncr Desktop and iSyncr are both installed, use the USB device cable that came with the device and connect it to your PC or Mac computer. Make an MTP connection to your Mac or PC computer.
Start at this step after the introductory, or 1st sync.
 5
(Windows Only!) Connect your device with a USB cable and verify that it is able to be seen in "This computer". Mac's "Finder" will not display the device.

6
iSyncr Desktop runs on your PC's system tray or menu bar (Mac). In Windows, right-click the "S" icon, then select your Android device (left click on Mac). iSyncr Desktop will allow you to select to the SD card or internal storage.
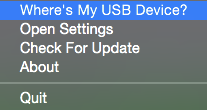
If you see "Where's my device" walk through this tutorial.

7
Select playlists, artists, albums, genres and/or podcasts and press . Your music and playlists should be available on your Android device a couple of minutes after unplugging the device.
8
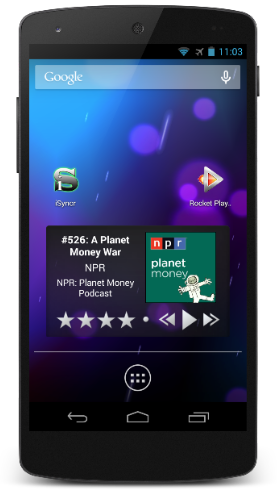
After the sync has finished, play your music using the built-in "Music" app on your device, or use JRT Studio's Rocket Music Player app for advanced iTunes music integration!
Need Help?
iSyncr is also able to sync over WiFi if you're stuck syncing over USB.To resolve USB issues contact us and mention what step you're stopped at (6,7,8 etc.) so we can help.


